


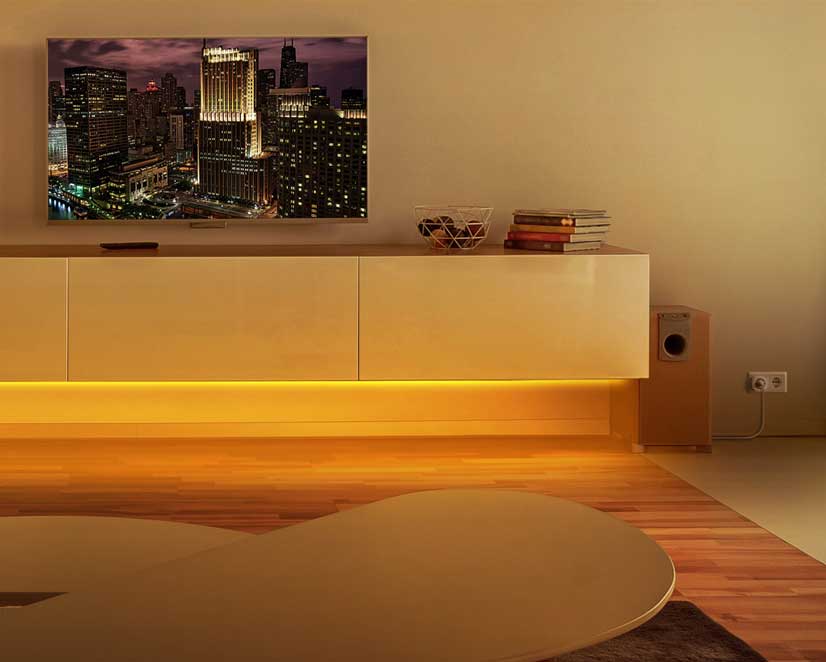
Is a big screen boasting the latest in display technology and stunning sound all you need for the perfect movie night? Not quite, because you also need to create the right atmosphere – which is where lighting plays a crucial role. With uniform, glare-free, dimmable and colored lighting, your eyes can relax and you can really immerse yourself in the movie.
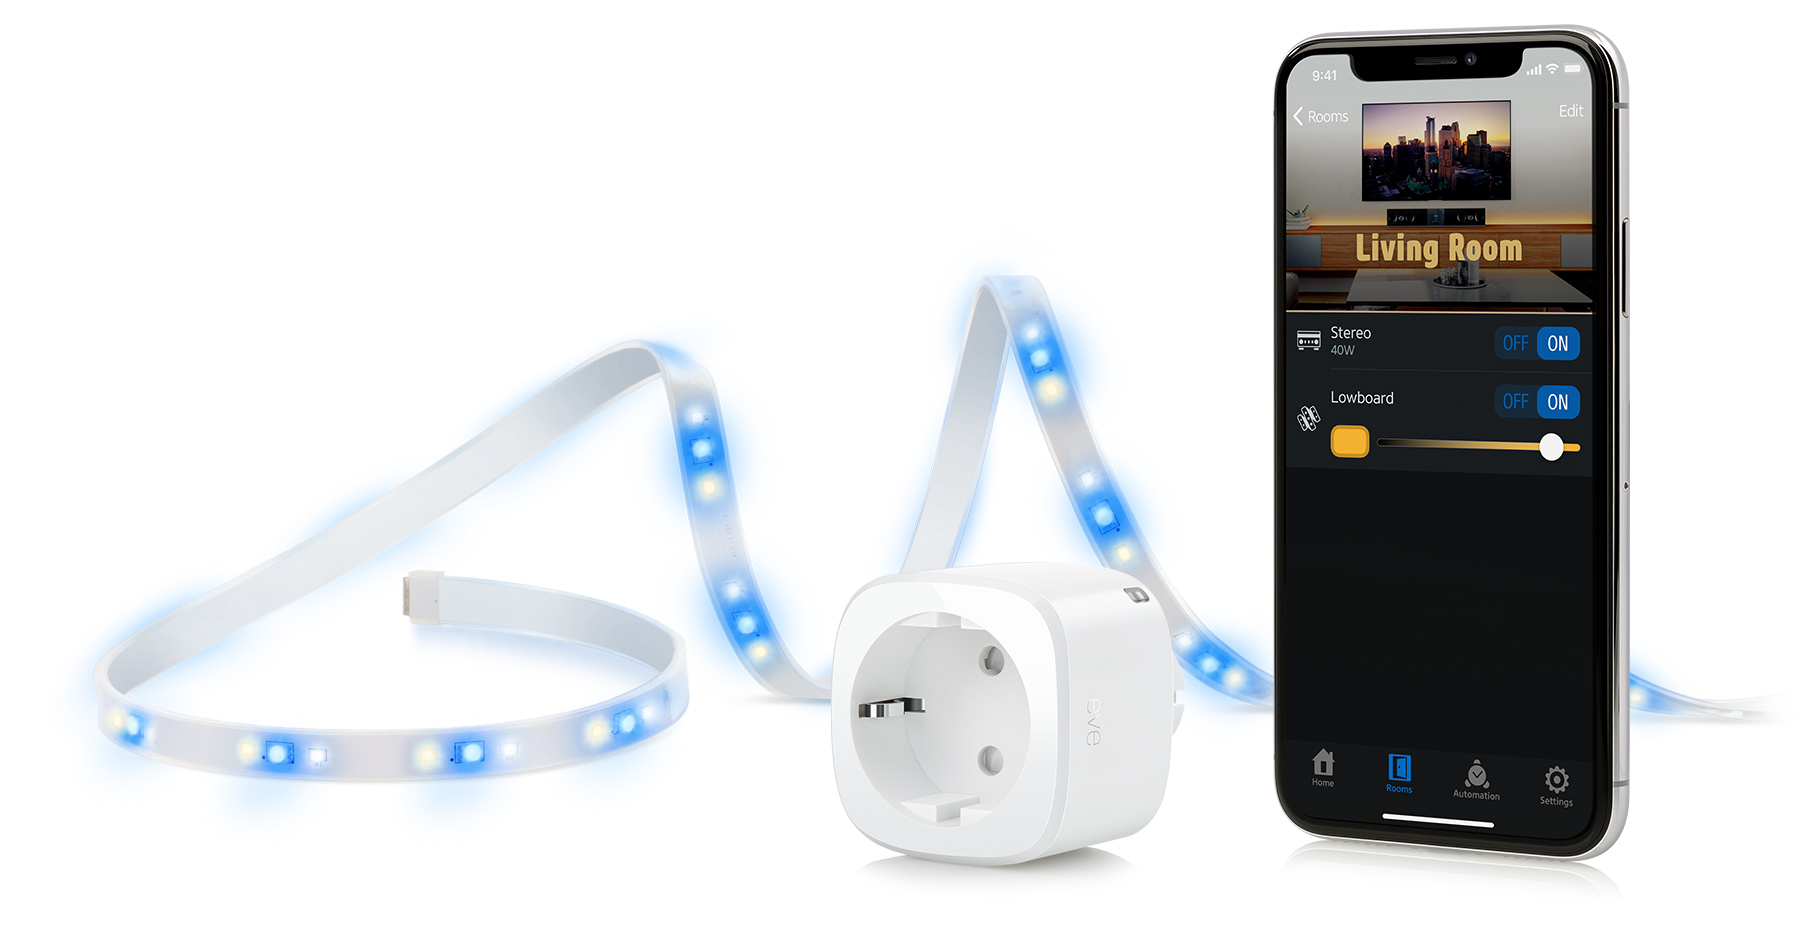
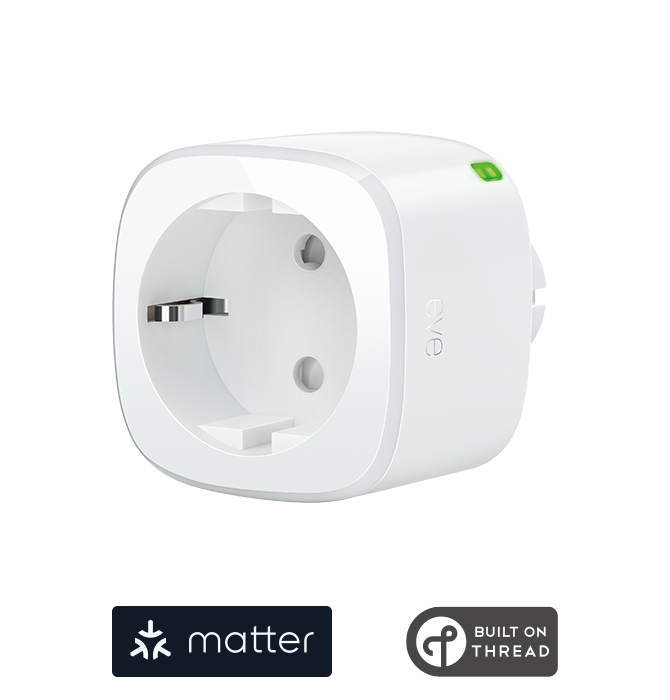
LED strips, such as Eve Light Strip, are perfect for this. They create a stream of light behind appliances, equipment and furniture or illuminate the ceiling when placed on shelving. And thanks to HomeKit, it’s a breeze to quickly create scenes for any scenario and effortlessly activate them simply by asking Siri. The Eve Movie Night Bundle also includes the Eve Energy smart plug for even greater convenience and control. Use it to turn off your reading lamp, as a power switch for your entertainment system or to switch on your fan on balmy summer nights – with virtually limitless options, Eve Energy is the perfect companion for LED strips.
Here are some real-life usage examples that you can set up quickly and easily using the Eve app:
Movie night scene 1: Reading lamp off, cinema lighting on
We want to enjoy our movies and series with the lights dimmed, as strong light sources cause distracting glare. We place Eve Light Strip behind the media console on which our TV sits, as we want the LED strip to produce a relaxing stream of light in our line of sight. By contrast, we want Eve Energy to turn off the reading lamp next to the couch – its bright white light beam is perfect for reading, but a total disaster for movie nights. By simply saying “Hey Siri, movie night!” to Siri on iPhone, Apple TV or HomePod, we want our reading lamp to turn off and our cinema lighting to switch on.
1. Add and customize accessories
To start, in Eve go to Settings > Add Accessory, tap Eve Energy and, when prompted, scan the HomeKit code on the accessory or on the enclosed card. Then select the room Eve Energy will be in (or if it isn’t listed, add it via the appropriate command). In the next window, configure the lamp you want Eve Energy to control and then enter the name and select the icon that best suits your lamp – that’s it. If necessary, you can change the name later.
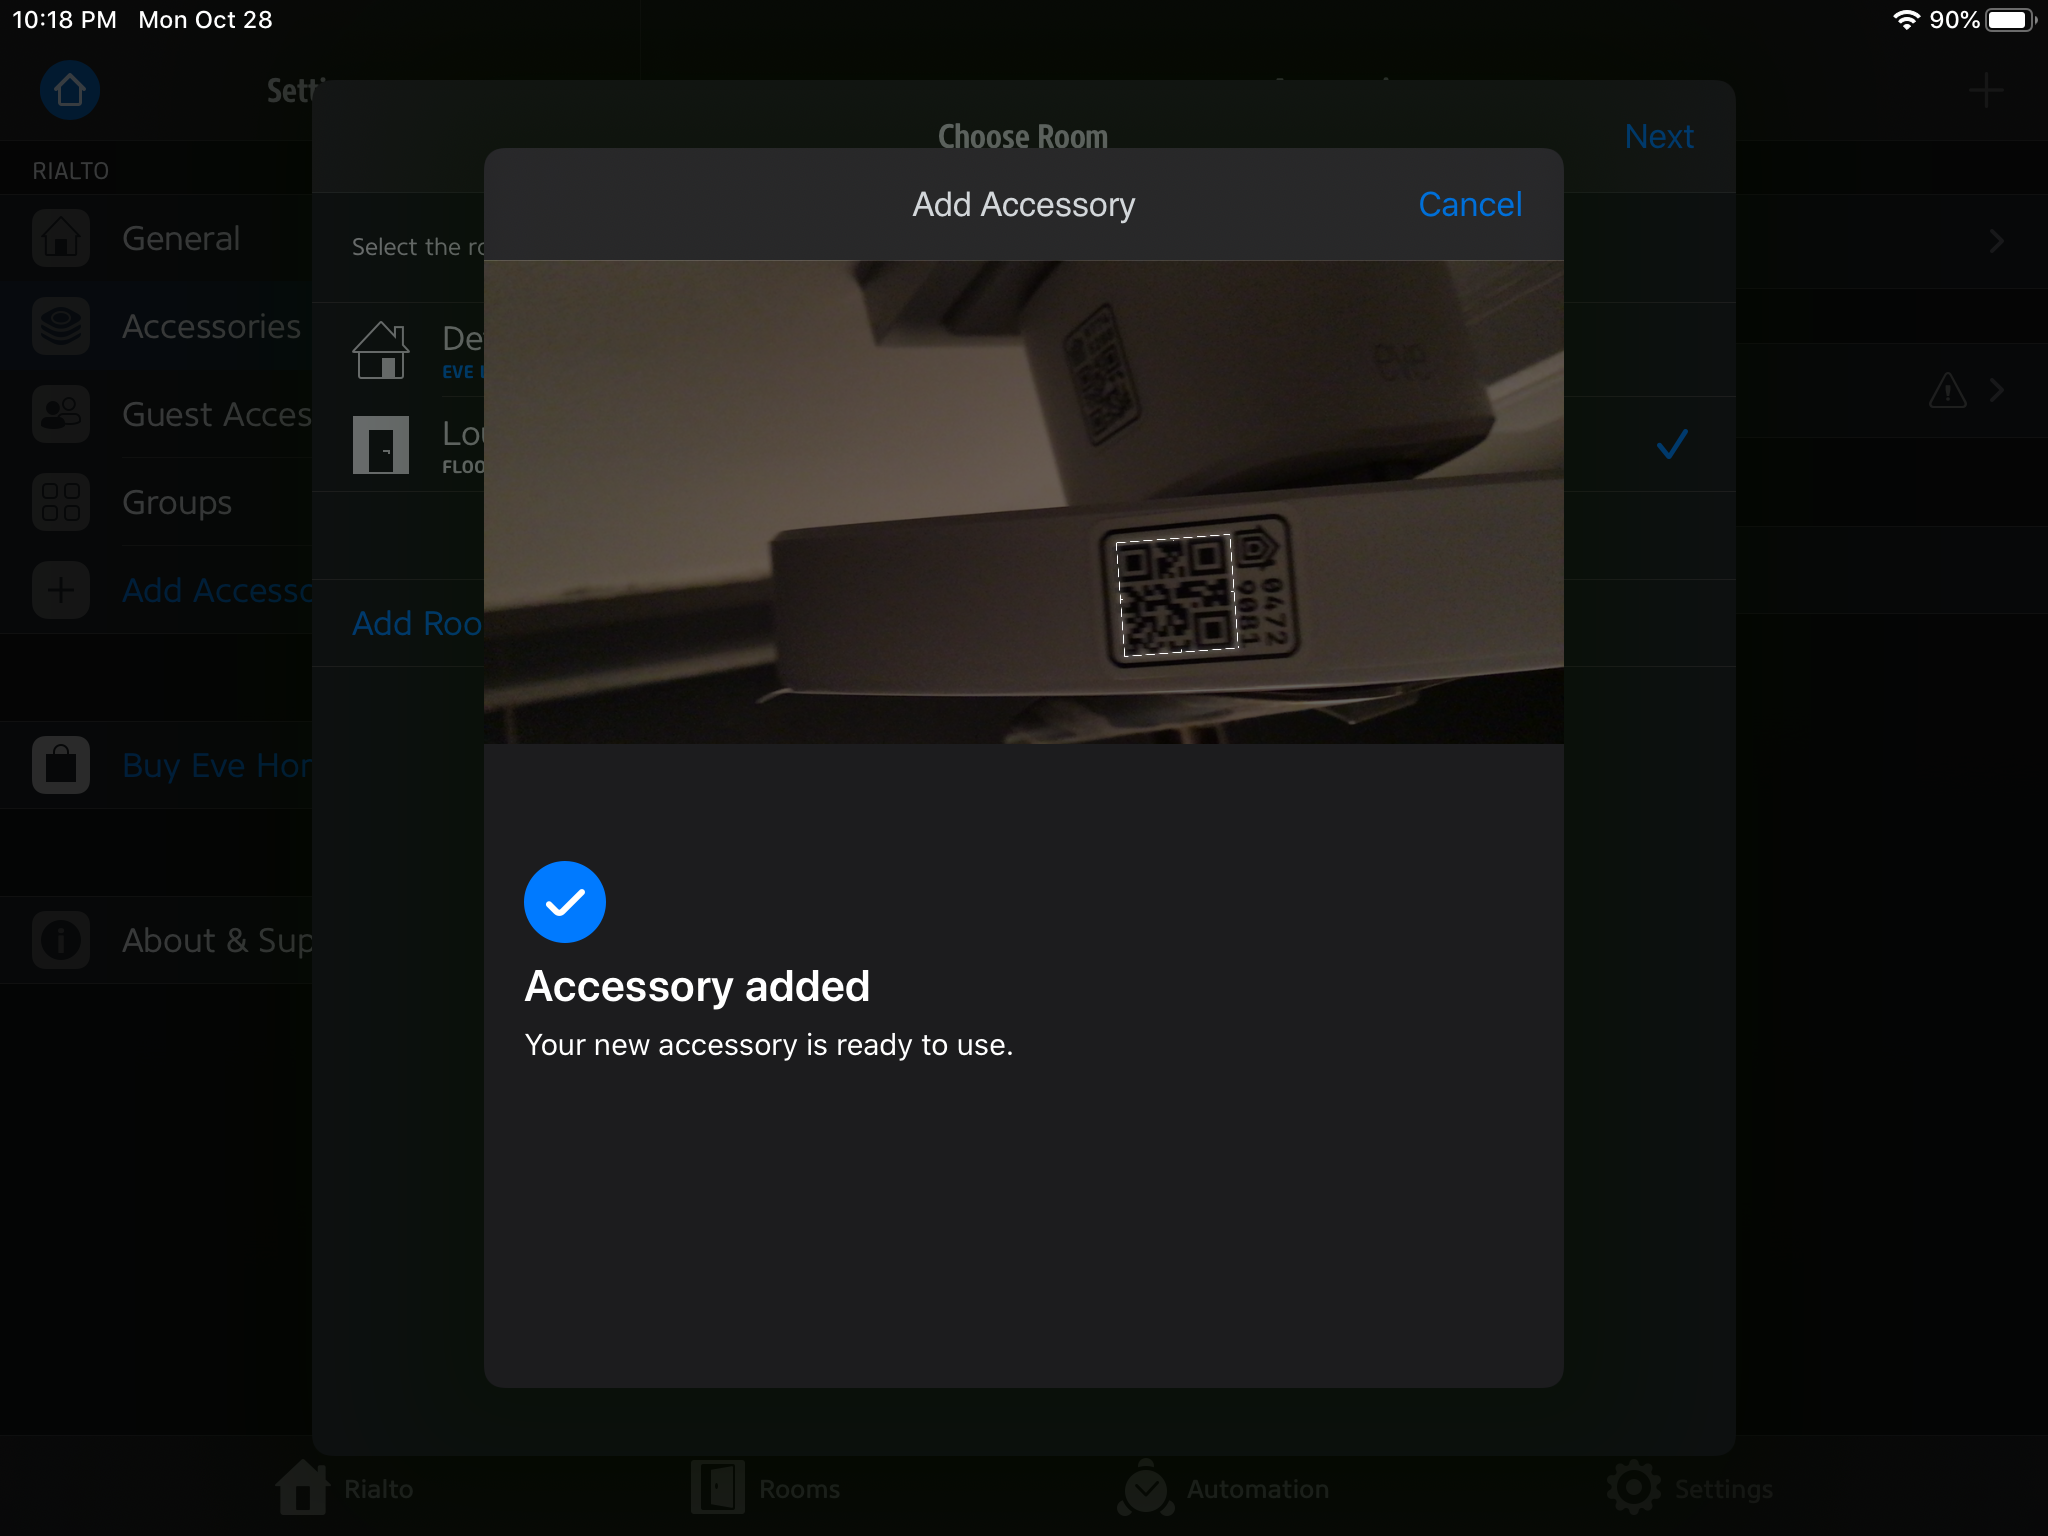
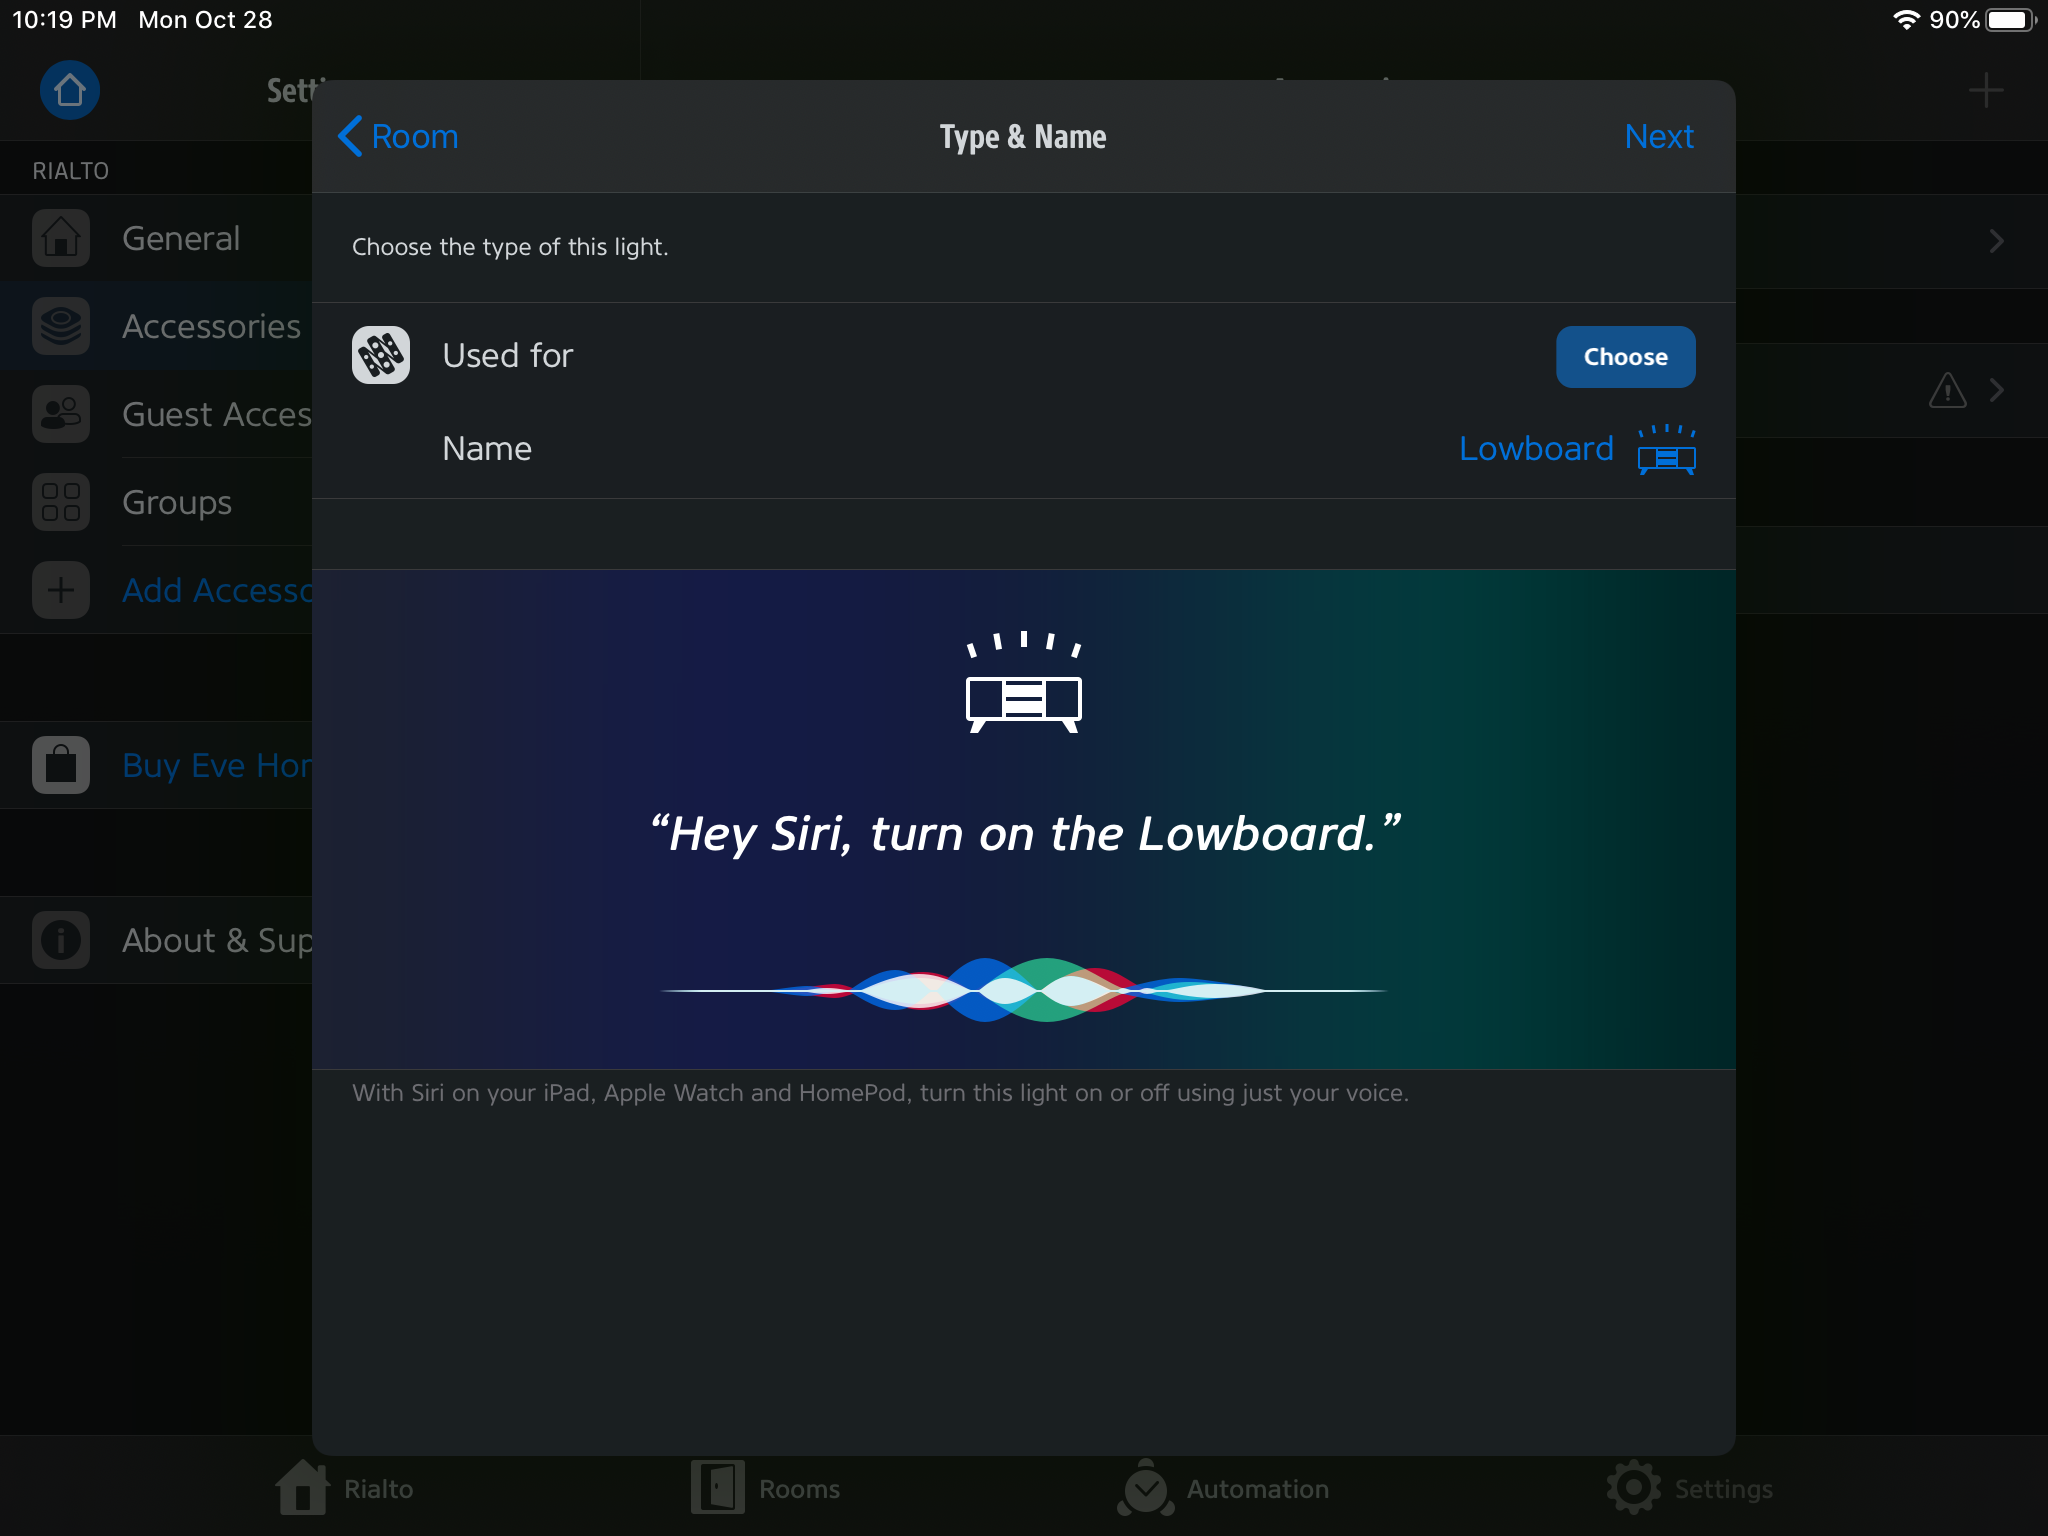
Eve will then dynamically display an example Siri command to control the accessory. Repeat the same steps for your Eve Light Strip, but make sure your iPhone is connected to your Wi-Fi router’s 2.4 GHz network during installation.
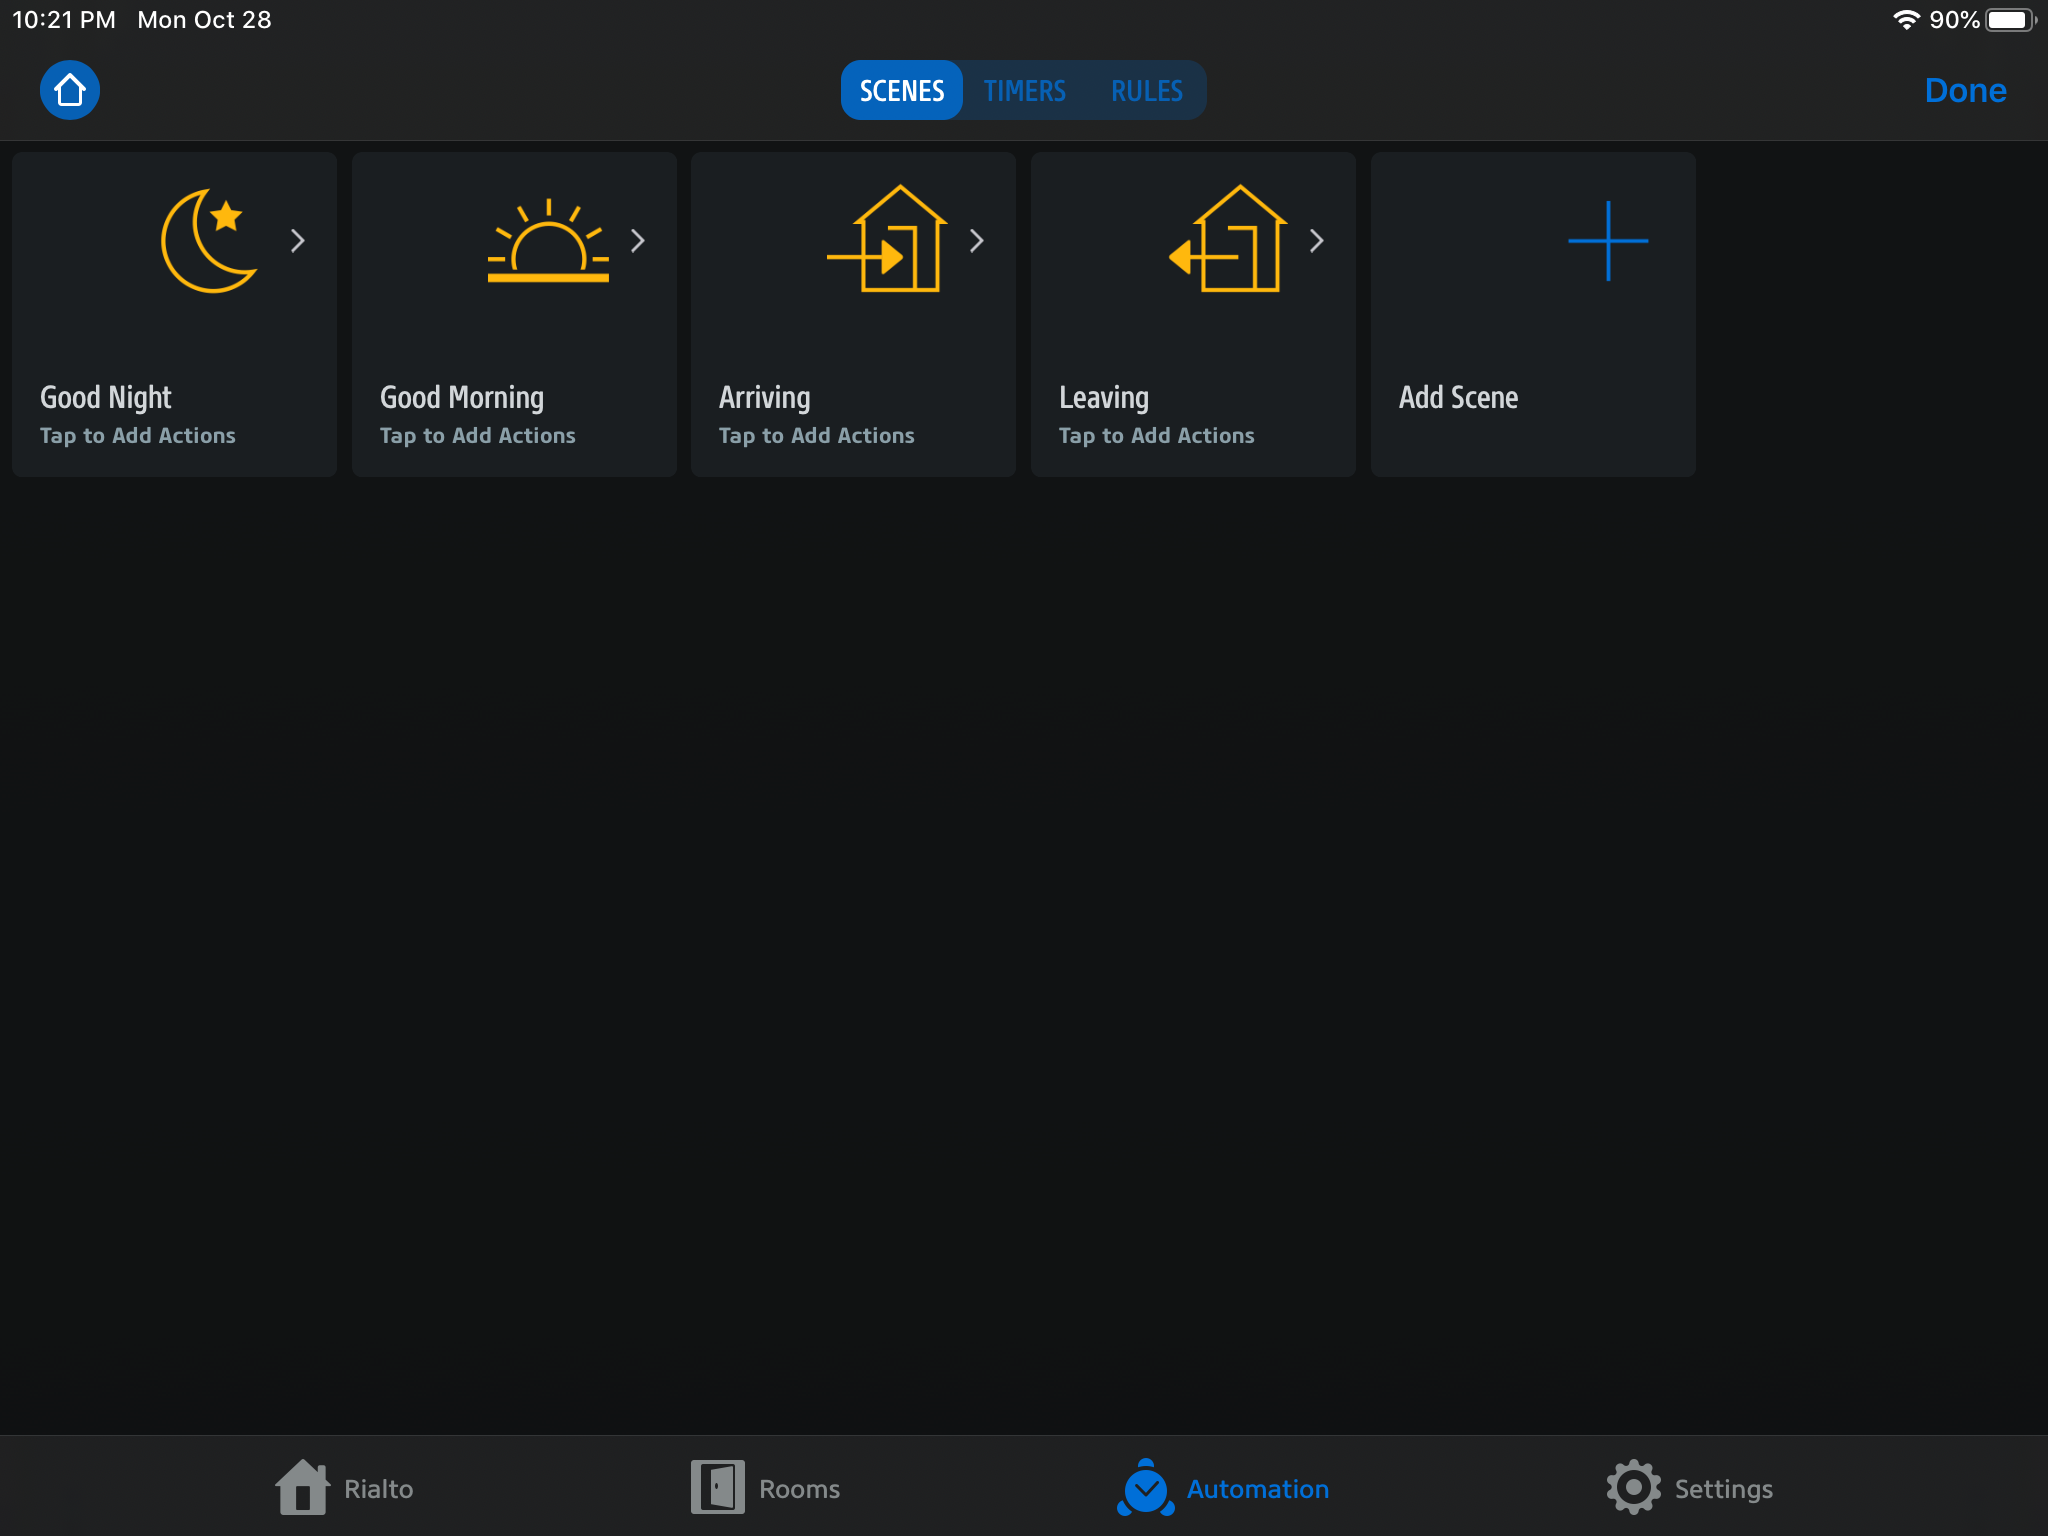
2. Set up your scenes
Go to Automation > Scenes, then tap the plus icon followed by Add Actions. Now navigate to the desired room.
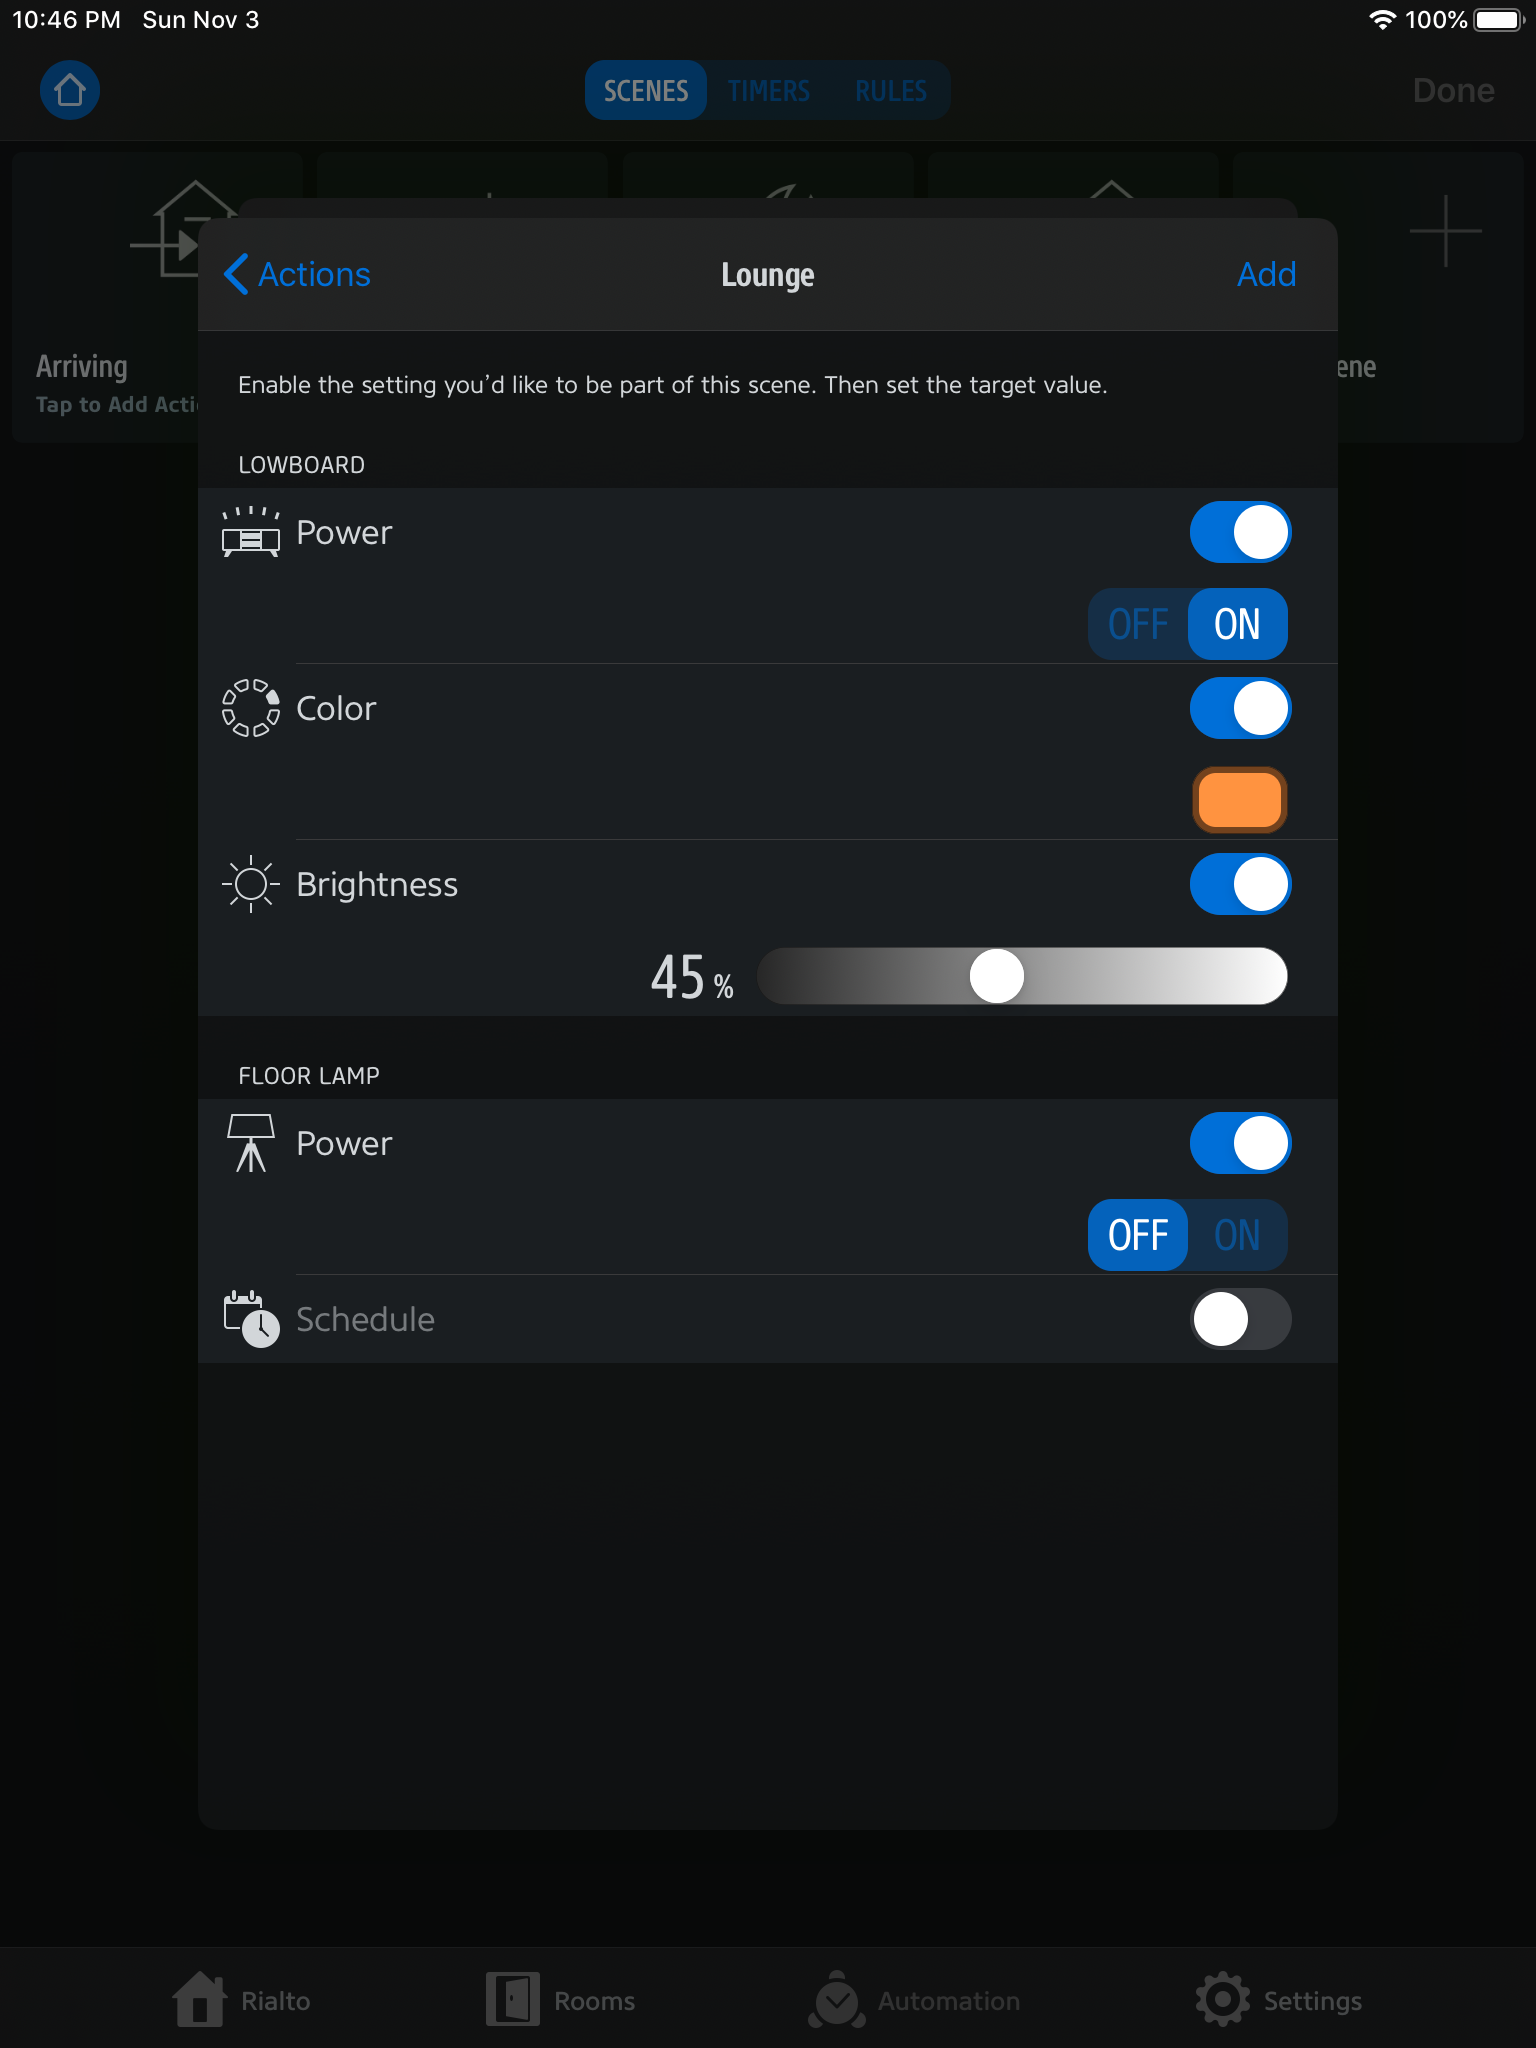
For your LED strip, set the Power option to On, select a white or color hue under the Color option and set the Brightness to 45% (or whatever you prefer). For your reading lamp, set the Power option to Off. Tap Add, then Next. Complete the process by naming your scene, selecting an icon – we think a comfy armchair fits nicely – and then tapping Done. Tap the scene in the overview to test it.
Movie night scene 2: TV on, cinema lighting on
In our second scene, we want Eve Light Strip to set the lighting mood again. The only difference is that for this scene our flat screen is connected to Eve Energy. We only power it when required firstly to save energy (the latest TVs tested in September by the German testing foundation Stiftung Warentest still drew an average of 2.4 Watts in standby mode) and secondly to minimize the regular attempts made by the set to communicate with update servers and other services. This time, we want our command “Hey Siri, movie night!” to bring the lamp and TV to life.
1. Add and customize accessories
In Eve, go to Settings > Add Accessory, tap Eve Energy and, when prompted, scan the HomeKit code on the accessory or on the enclosed card. Then select the room Eve Energy will be in (or if it isn’t listed, add it via the appropriate command). In the next window, configure the accessory you want Eve Energy to control and then tap the TV icon. Following that, and this is purely optional, you can assign a Siri name – that’s it. Eve will then dynamically display an example Siri command to control the accessory. Repeat the same steps for your Eve Light Strip, but make sure your iPhone is connected to your Wi-Fi router’s 2.4 GHz network during installation.
2. Set up your scenes
Initially, proceed as in scene 1: Go to Automation > Scenes, then tap the plus icon followed by Add Actions.
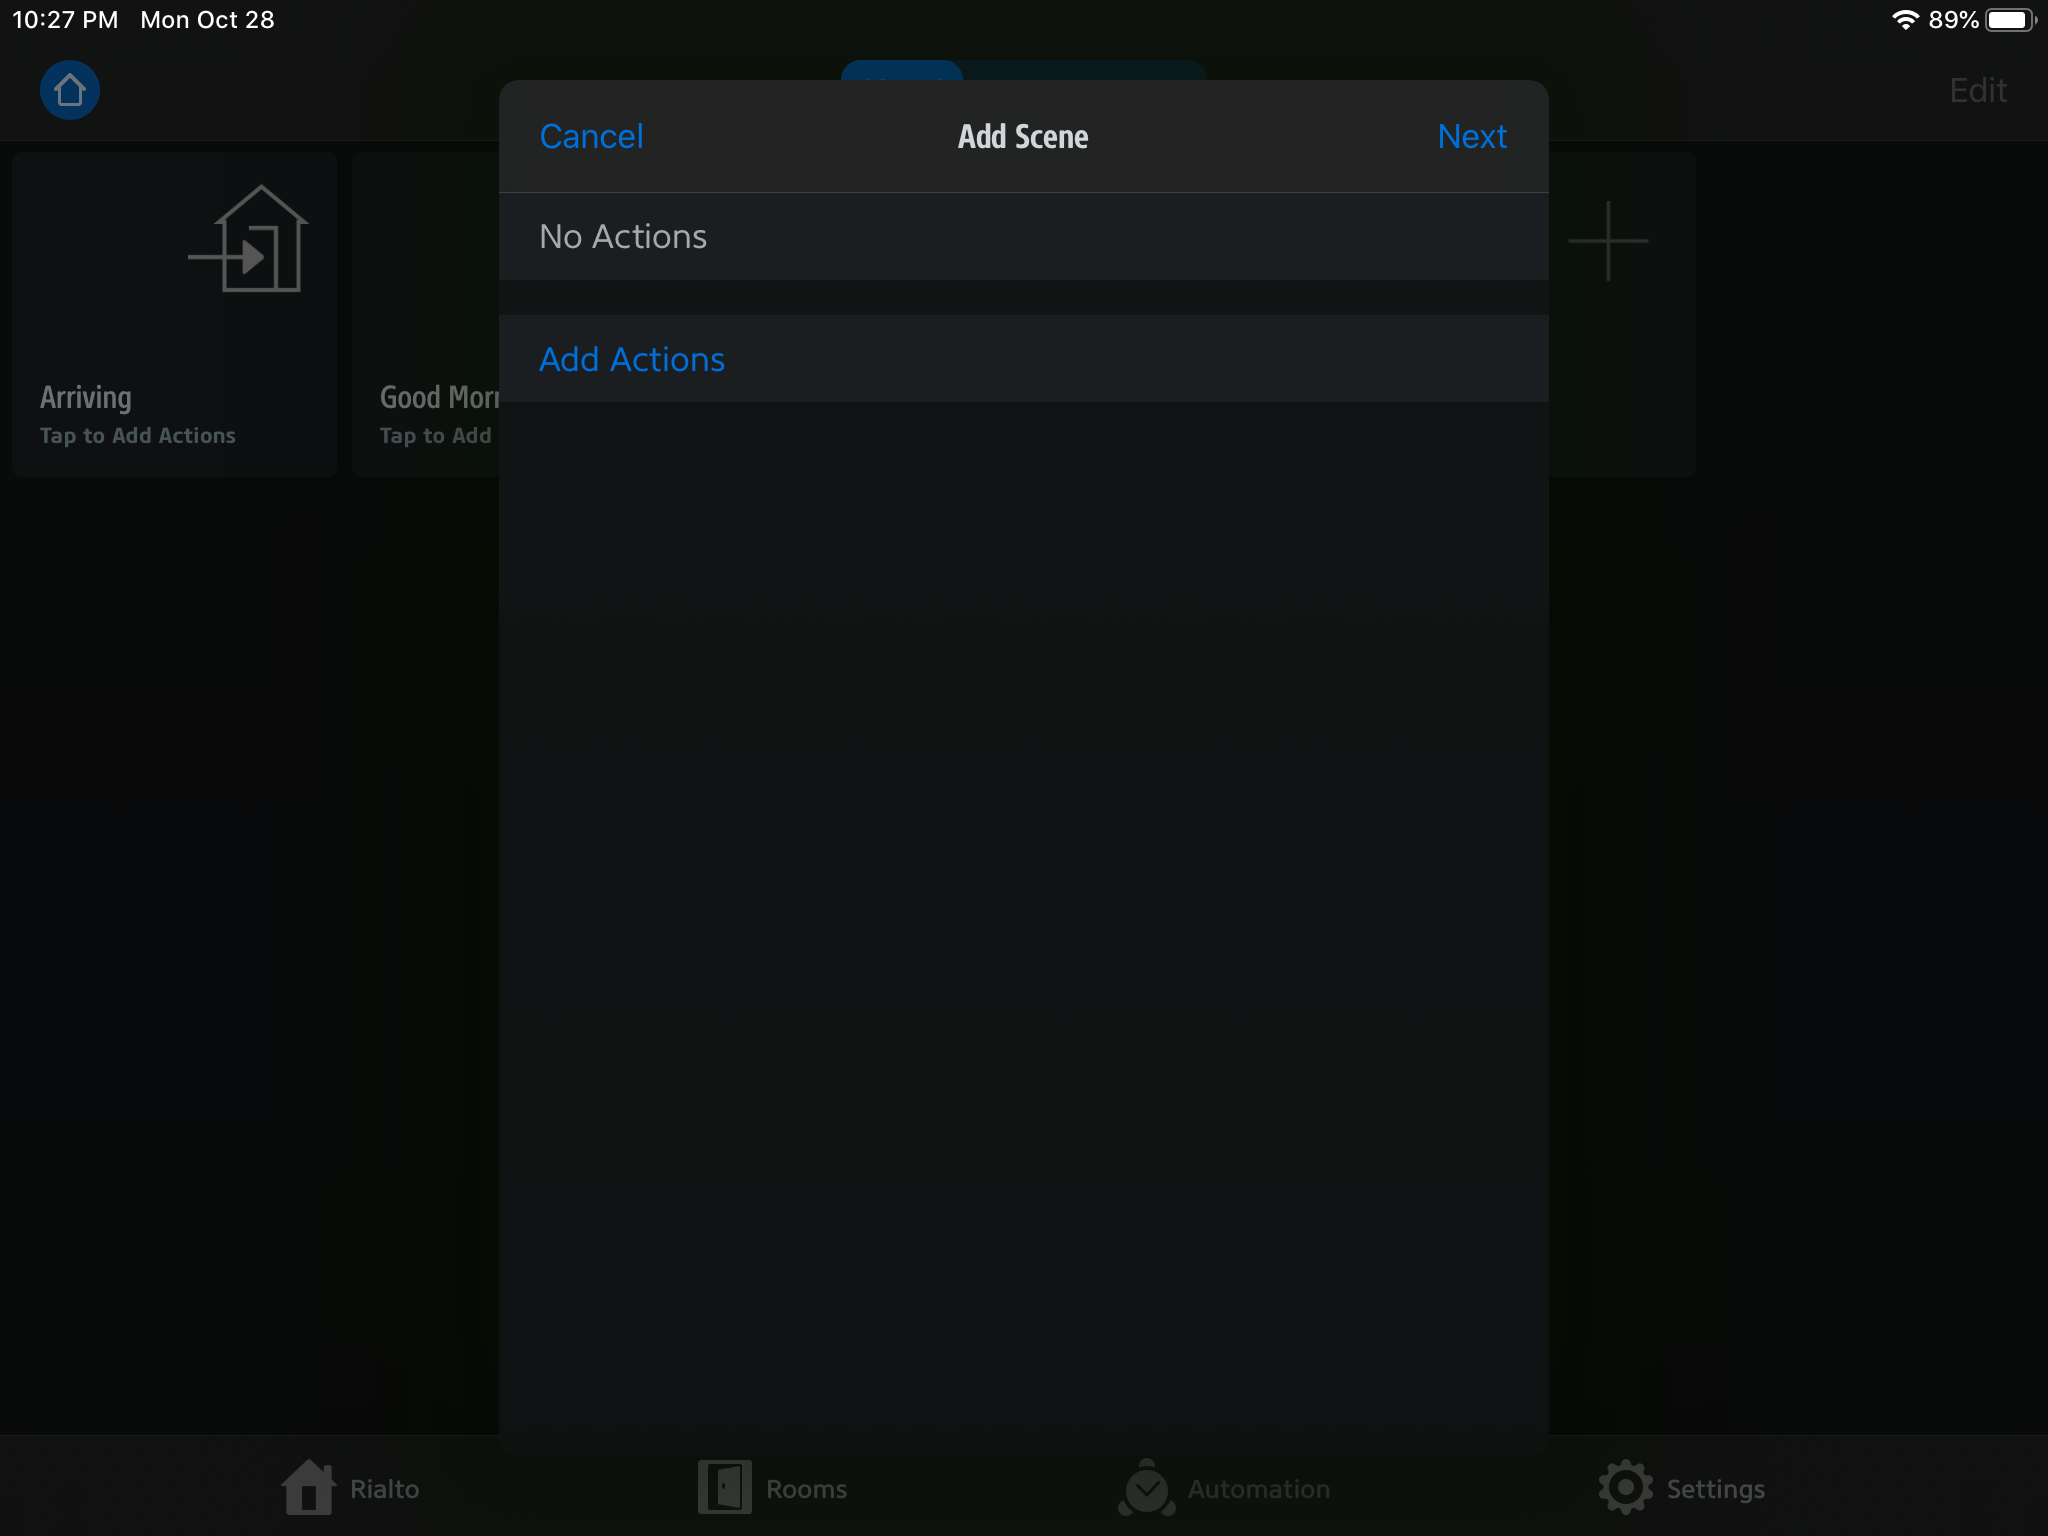
For your LED strip, set the Power option to On, select a white or color hue under the Color option and set the Brightness to 45% (or whatever you prefer). The only difference this time is that for your flat screen you should set the Power option to On. Tap Add, then Next. Complete the process by naming your scene, selecting an icon – as before, we opted for the armchair – and then tapping Done. Once again, tap the scene in the overview to test it.

Next steps
HomeKit offers even more advanced automations, with Siri being just one way to activate the above-mentioned scenes. HomeKit uses timers and rules, so no user interaction is required at all to activate scenes. To give an example: If you gather around the TV every weekend to catch your favorite series, you can schedule the “movie night” scene to trigger automatically every Saturday at 8:30pm (that said, it’s important to note that automations that run independently of iPhone require a HomePod or Apple TV HD/4K as a home hub to control your HomeKit accessories). And if you’re about to splash out on a new TV, why not go for a HomeKit-enabled model that integrates perfectly into the above-mentioned scenes (for a list of supported models see: https://www.apple.com/ios/home/accessories/).
Requires iPhone, iPad or Android device and a compatible hub.


Posts you might also be interested in.
Lighting the Way to a Peaceful Routine
Learn how to enhance your morning routine and make your daily life run more efficiently with a couple of simple automations.
All features of Eve Energy
Make your home smart the easy way by equipping it with HomeKit-enabled smart plugs. They’re super intuitive to use and you can set them up in no time at all. Once that’s done, you're ready to make your lamps and appliances smart and control them via an app, using easy-to-learn voice commands, based on a schedule or even by your presence.
Take full advantage of Adaptive Lighting
Thanks to HomeKit Adaptive Lighting introduced with iOS 14, set Eve Light Strip to automatically adjust the color temperature throughout the day. Read on to learn how to turn on Adaptive Lighting, and discover the advantages of using Adaptive Lighting based on our three example rooms.